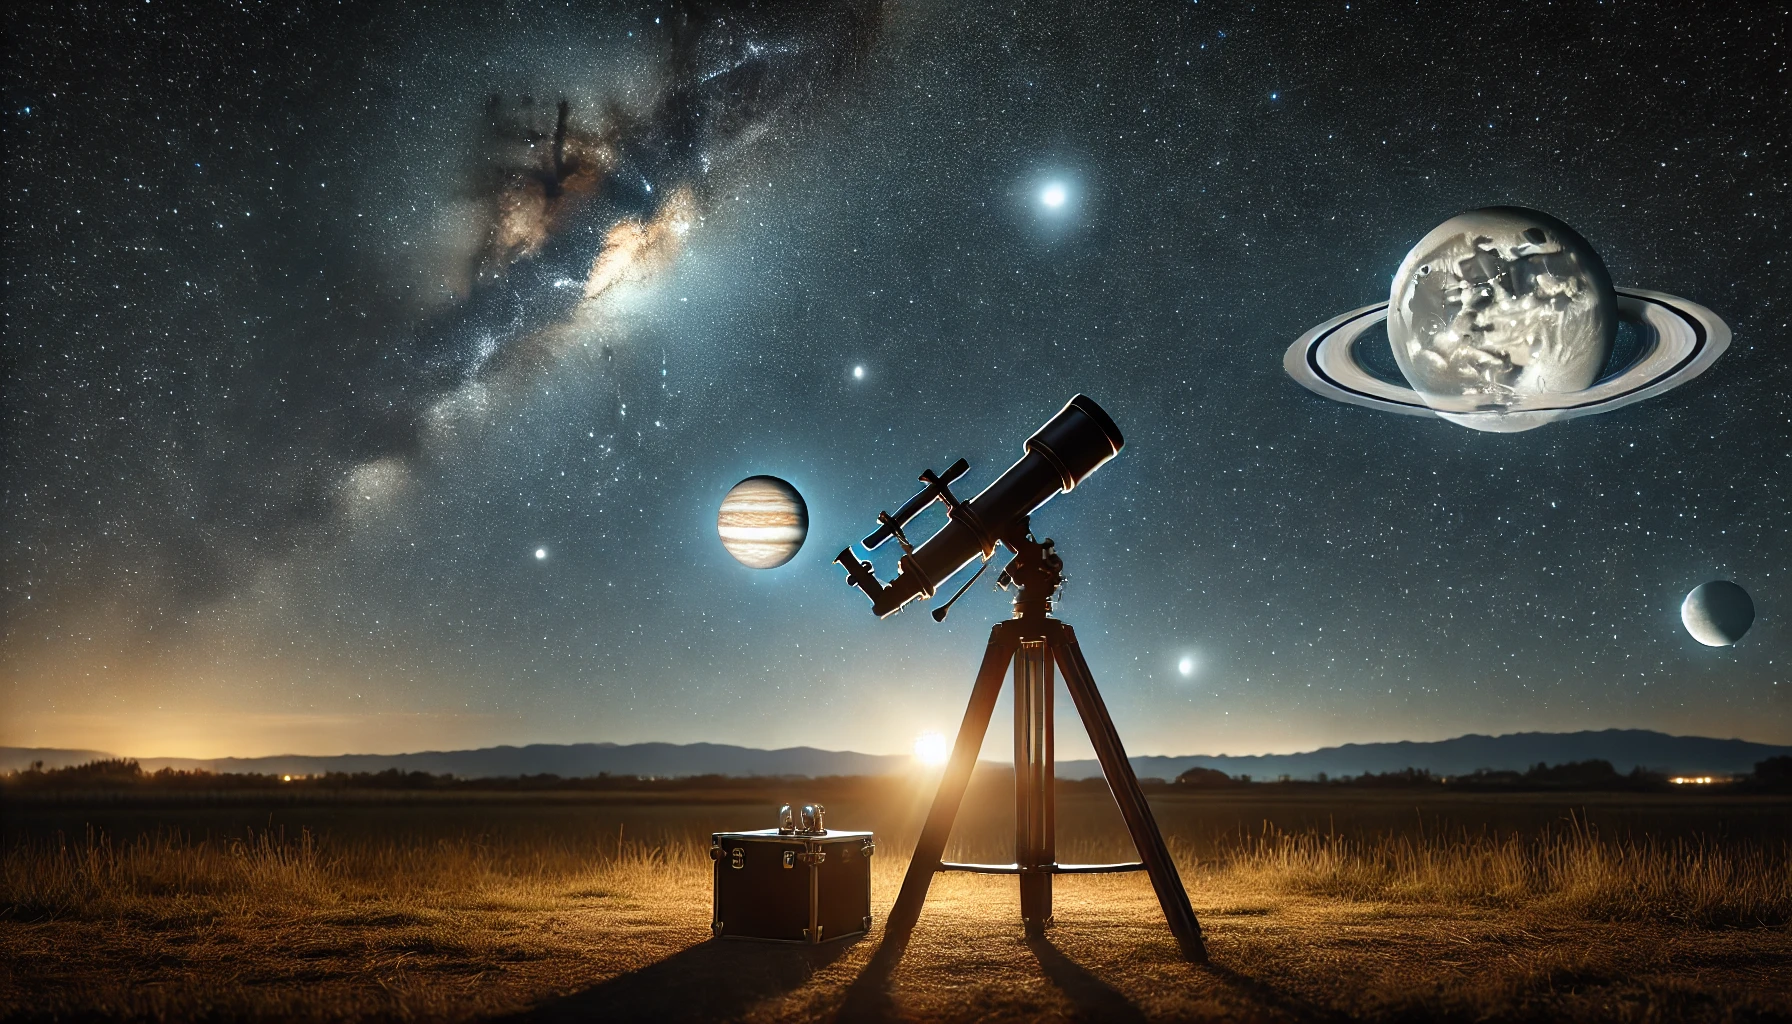
Some planets shine so brightly that they look like misplaced stars in the night sky. But through a telescope, they transform into something entirely different—bands of color, swirling storms, icy rings, or even tiny moons in motion. The best part? Anyone with the right approach can see them in remarkable detail.
Observing planets isn’t just about pointing a telescope at the sky. Light pollution, atmospheric conditions, telescope settings, and even how long you let your eyes adjust all play a role in what you actually see. Whether you’re catching a glimpse of Jupiter’s Great Red Spot or tracing Saturn’s rings, a few adjustments can turn a hazy blur into a stunning, detailed view.
The Best Time to Observe Planets
Some planets are visible throughout the year, while others have small windows of opportunity. Planning ahead can mean the difference between a disappointing session and a breathtaking view.
Check Planetary Positions
- Venus and Mercury hug the Sun, appearing best just after sunset or before sunrise.
- Mars grows larger and brighter near opposition, when Earth is closest to it.
- Jupiter and Saturn shine at their best when they’re high in the sky, away from the horizon’s atmospheric distortion.
- Uranus and Neptune need darker skies and a bit of effort, but their faint blue-green glow is worth the challenge.
Avoid Full Moons
Moonlight washes out details on dim planets. A crescent or new moon is best, allowing darker skies and sharper planetary views.
Timing Matters
Planets look best when they are at their highest point in the sky. The lower they sit, the more atmosphere their light must pass through, creating distortion.
Choosing the Right Telescope and Eyepiece
A good telescope makes a difference, but the way it’s used matters even more.
Aperture Over Magnification
More magnification doesn’t always mean better detail. A larger aperture collects more light, sharpening planetary features.
Eyepiece Selection
- Low-power eyepieces help locate planets.
- Medium-power eyepieces provide a balance of detail and brightness.
- High-power eyepieces bring out fine details but require steady conditions.
Use a Barlow Lens
A Barlow lens doubles or triples magnification without losing too much brightness, making it a great way to push your telescope’s limits.
Fine-Tuning Your Viewing Conditions
Even with the best equipment, poor conditions can ruin an otherwise perfect night.
Check the Weather
Still, dry air creates sharper images. Wind and turbulence blur details, no matter how powerful your telescope is.
Let Your Telescope Adjust
Moving a telescope from a warm house into cold air creates thermal currents inside the tube, blurring the image. Let it sit outside for at least 30 minutes before observing.
Give Your Eyes Time to Adapt
It takes 20 to 30 minutes for eyes to fully adjust to darkness. Avoid bright lights, and use a red flashlight if needed.
Use a Light Pollution Filter
City lights make fainter planets disappear. Filters reduce glare and bring out details, especially on Mars and Jupiter.
Getting the Best Views of Each Planet
Every planet has its own best tricks for getting a clear, detailed view.
Mercury and Venus: Catching the Phases
- Best seen during dawn or dusk.
- Filters help tone down their brightness.
- Their phases, much like the Moon’s, are visible with the right magnification.
Mars: Spotting the Polar Caps
- Reddish-orange in color, Mars looks best near opposition.
- A yellow or red filter enhances surface details.
- The ice caps grow and shrink with the seasons.
Jupiter: Tracking the Great Red Spot
- Jupiter’s cloud bands shift over time, so every view is slightly different.
- The Great Red Spot appears and disappears due to rotation.
- Its four largest moons can be seen moving night after night.
Saturn: Watching the Rings Change
- Saturn’s rings tilt at different angles as it orbits the Sun, making them more or less visible.
- A high-power eyepiece reveals gaps in the rings, including the Cassini Division.
- Titan, Saturn’s largest moon, is easily visible.
Uranus and Neptune: A Challenge Worth Taking
- Small, bluish dots in most telescopes, but filters help bring out their subtle colors.
- Best seen under dark skies, far from city lights.
- Neptune’s largest moon, Triton, is possible to spot with larger telescopes.
Fine-Tuning Focus and Stability
A shaky or poorly focused telescope can turn even the best conditions into a frustrating blur.
Use a Sturdy Tripod or Mount
A wobbly base ruins sharp views. Even the slightest movement distorts fine details.
Adjust Focus Slowly
Turning the focus knob too quickly can overshoot the clearest image. Small, precise movements work best.
Track the Planet
Planets drift out of view as Earth rotates. A motorized mount or frequent adjustments keep them centered.
Capturing Planetary Views with a Camera
Once you’ve mastered viewing, astrophotography takes things to the next level.
Use a Phone Adapter
A simple adapter aligns a smartphone with the eyepiece, making it easy to snap photos.
Take Videos Instead of Photos
A short video captures multiple frames, which can be stacked and processed for a sharper image.
Use Software for Processing
Free tools like RegiStax or AutoStakkert! refine planetary images by removing distortion and sharpening details.
Final Thoughts
Observing planets isn’t just about looking through a telescope—it’s about patience, timing, and the right setup. A small adjustment can make the difference between a fuzzy blob and a detailed view of Saturn’s rings or Jupiter’s swirling clouds. Every night brings something different, whether it’s a shadow crossing Jupiter or Mars revealing a hint of its surface features. With the right techniques, each session feels like a new discovery.
