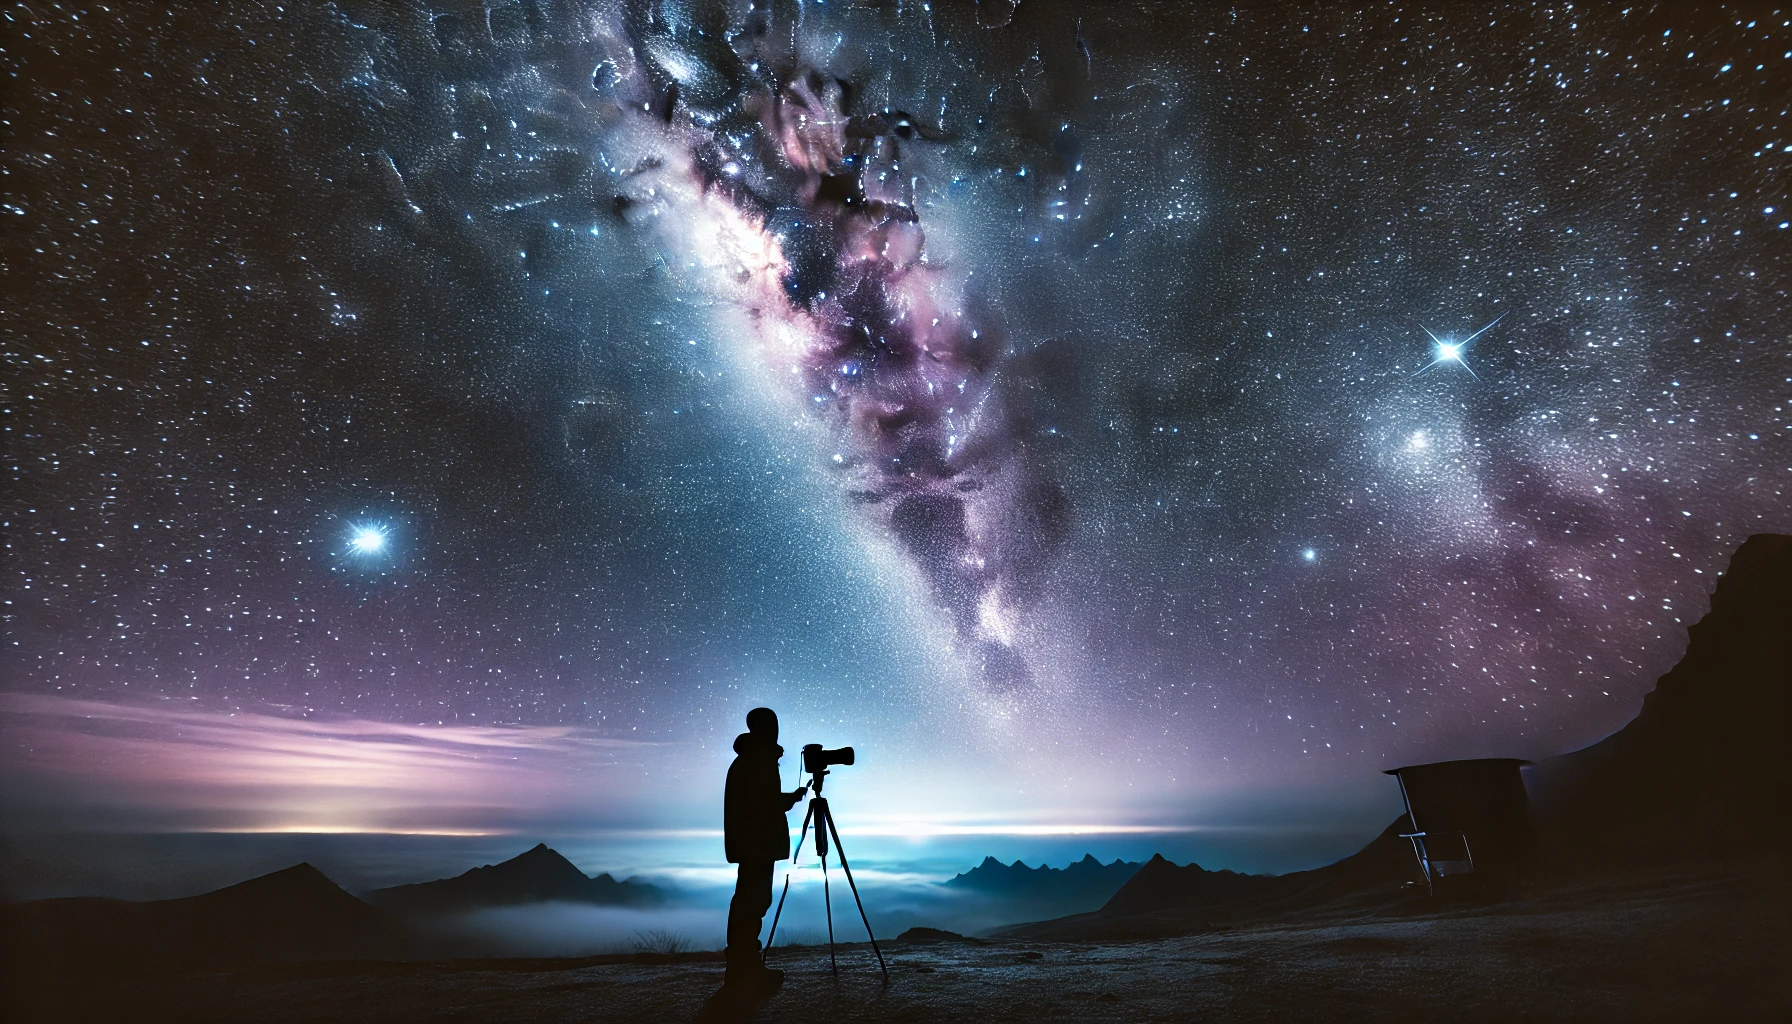
Some of the light you see in the night sky has traveled for thousands, even millions, of years before reaching your eyes. Capturing that light with a camera isn’t just about taking a photo—it’s about freezing time, preserving moments from deep space that existed long before humans did. If that idea doesn’t make astrophotography feel like magic, nothing will.
But where do you begin? Do you need an expensive telescope? What kind of camera works best? This guide breaks it all down, so you can start taking breathtaking images of the night sky, even if you’ve never pointed a camera at the stars before.
Understanding the Basics of Astrophotography
Astrophotography is different from regular photography. The subjects—stars, planets, and nebulae—aren’t just far away. They’re also faint and constantly moving across the sky. Unlike landscape photography, where you can snap a shot in seconds, astrophotography often involves long exposures, tracking equipment, and post-processing to bring out details invisible to the naked eye.
There are two main types:
- Wide-field astrophotography captures large portions of the sky, including constellations, the Milky Way, and meteor showers.
- Deep-sky astrophotography focuses on distant objects like galaxies and nebulae, usually requiring telescopes and advanced tracking gear.
Essential Equipment for Astrophotography
Getting started doesn’t have to be expensive. A decent camera and a bit of patience can take you a long way.
Camera Options: What Works Best?
Not all cameras handle low-light conditions well. The right one depends on what you want to photograph.
- DSLRs and mirrorless cameras are great for beginners. They allow for long exposures and interchangeable lenses.
- Astro-modified cameras are regular cameras with their infrared filters removed to capture more detail in deep-sky objects.
- Dedicated astrophotography cameras offer better sensitivity to faint light, but they require extra setup and software.
Lenses and Telescopes: How to Choose?
A standard camera lens is enough for wide-field shots, but deep-sky photography needs magnification.
- Wide-angle lenses (14mm–35mm) work well for capturing the Milky Way.
- Telephoto lenses (50mm–200mm) bring out details in star clusters and galaxies.
- Refractor telescopes provide sharper images with less distortion, making them ideal for deep-sky objects.
- Reflector telescopes are more budget-friendly and gather more light, great for viewing faint galaxies.
Tripods and Mounts: Keeping the Camera Steady
Long exposure photography requires absolute stability. Even a tiny vibration can blur the shot.
- Sturdy tripods prevent movement from wind or accidental bumps.
- Equatorial mounts track the Earth’s rotation, allowing longer exposures without star trails.
Star Trackers: Are They Necessary?
If you want more than 10-second exposures, a star tracker is a game-changer. It moves your camera in sync with the sky, keeping stars sharp instead of stretched into lines.
Mastering Camera Settings for the Best Shots
Pointing the camera at the sky isn’t enough. The right settings will make or break the shot.
ISO: Finding the Sweet Spot
A high ISO setting makes the camera more sensitive to light, but too much can cause grainy images. The best range depends on your camera’s capability.
Aperture: Letting in More Light
A wider aperture (lower f-number) gathers more light, but using it at the widest setting can cause stars to look distorted. Finding a balance is key.
Shutter Speed: Avoiding Star Trails
If you’re not using a tracker, exposure times must be short enough to keep stars from streaking. The 500 Rule is a good starting point:
500 ÷ focal length = maximum exposure time (in seconds) before stars begin trailing.
Best Locations for Astrophotography
City lights drown out faint details, making dark sky locations essential. National parks, remote beaches, and high-altitude areas work best. Even moving just a few miles away from city glow can make a difference.
Checking Light Pollution Levels
Apps like Light Pollution Map or Dark Sky Finder help pinpoint locations with minimal artificial light.
Timing Matters: Best Conditions for Shooting
- New Moon nights provide the darkest skies.
- Clear, dry air reduces atmospheric distortion.
- Cold nights minimize heat waves that blur images.
Editing Astrophotography Images Like a Pro
Raw images rarely look as stunning as the final result. Post-processing brings out hidden details.
Basic Adjustments: What to Fix?
- Brightness and contrast enhance details in faint objects.
- Color balance corrects unnatural hues from light pollution.
- Noise reduction keeps the image clean without removing star details.
Stacking Images: Why It’s Useful
Taking multiple images and stacking them reduces noise while improving sharpness. Free software like DeepSkyStacker helps automate this process.
Common Mistakes and How to Avoid Them
Even experienced astrophotographers run into problems. Knowing what to watch out for can save hours of frustration.
- Shaky tripod – Always check for stability before shooting.
- Wrong focus – Autofocus doesn’t work well on stars; manual focus is the way to go.
- Overexposure – Blown-out highlights can ruin an image, so experiment with different settings.
- Ignoring the histogram – This tool shows whether an image is too dark or too bright.
Final Thoughts
Astrophotography takes patience, but the rewards are worth it. Seeing your own photo of a nebula, galaxy, or the Milky Way glowing across the night sky is an experience like no other. The key is to start simple, learn as you go, and enjoy the process. The universe isn’t going anywhere—so take your time, experiment, and have fun capturing the sky.
