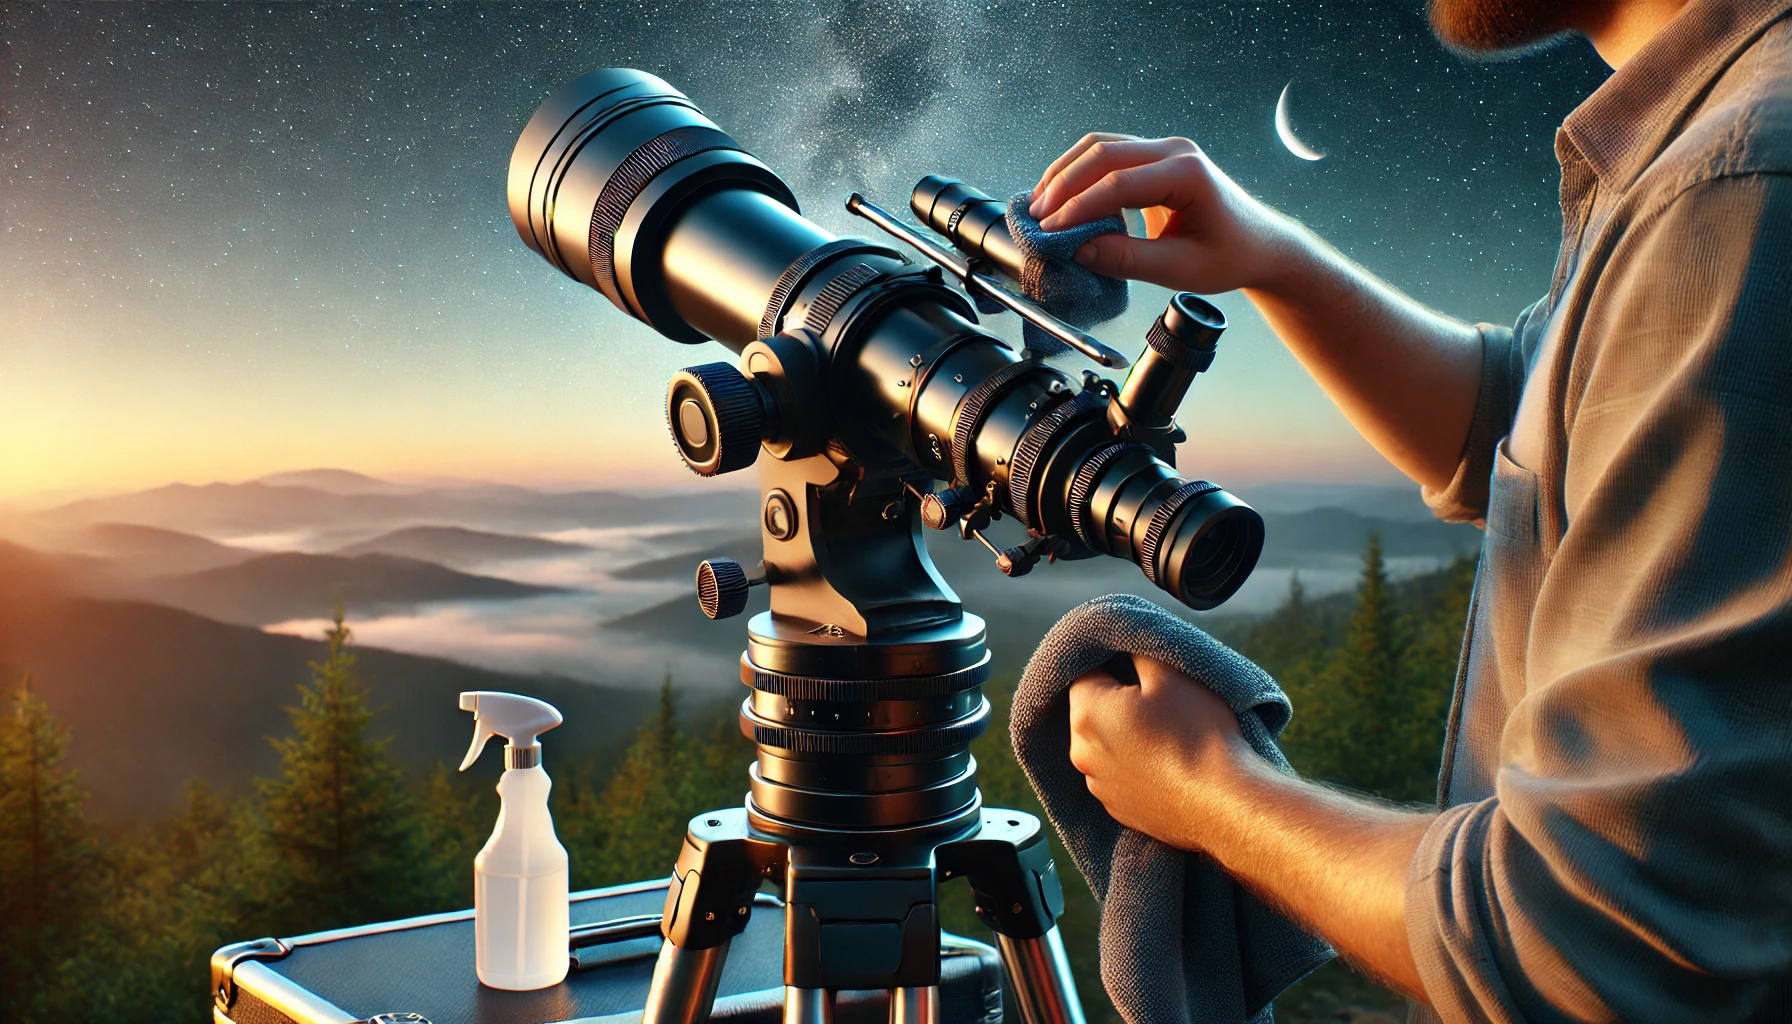
Telescopes reveal wonders far beyond what the naked eye can see. But even the most advanced optics can’t deliver sharp, detailed views if they’re coated in dust or misaligned. Without proper care, your telescope can lose clarity, produce distorted images, and even suffer permanent damage. Keeping it in top shape doesn’t take much, but it does require the right approach.
A well-maintained telescope delivers crisp, detailed images for years. The key? A combination of routine cleaning, careful storage, and minor adjustments. Skipping these steps can lead to buildup that affects performance or even scratches that can’t be undone. Here’s how to keep your telescope in excellent condition without causing unintended harm.
Handling Your Telescope with Care
A telescope’s optics are delicate, and even small mishaps can lead to problems. Proper handling prevents unnecessary cleaning and extends the life of the equipment.
Always Cover When Not in Use
- Dust settles quickly, even indoors. Always replace dust caps on both ends of the telescope and cover the mount.
- Store in a dry place to prevent mold and fungus, especially in humid climates.
- Never leave the telescope uncovered outside overnight. Dew can condense on optics, leading to water spots or long-term damage.
Avoid Touching the Optics
- Fingerprints contain oils that can degrade coatings and attract more dirt. Handle the telescope by its tube or base.
- If adjusting the focus or collimation, use only the designated knobs to avoid unnecessary contact with lenses or mirrors.
Be Mindful of Temperature Changes
- Bringing a telescope from a warm indoor space into the cold can cause condensation on the optics. Allow time for gradual adjustment.
- If dew forms, let the telescope dry naturally indoors before capping it. Sealing in moisture encourages mold growth.
Cleaning the Optics Without Damage
Cleaning should be a last resort. Improper methods can do more harm than good, so only clean when necessary. Dust alone doesn’t impact performance unless it’s excessive.
Assessing When to Clean
- A light layer of dust is normal. Unless it significantly affects image quality, leave it alone.
- Smudges, water spots, or pollen may require careful cleaning.
- Scratches can’t be removed, so prevention is the best approach.
Using the Right Tools
- Air blower: Safest way to remove loose dust without touching the optics. Avoid compressed air cans, as they can leave residue.
- Soft brush: A camel-hair brush or a dedicated lens brush removes dust without scratching.
- Lens cleaning solution: Only use solutions designed for telescope optics, never household cleaners.
- Microfiber cloth or lens tissue: Use light pressure to clean optics without streaking.
Proper Cleaning Technique
- Start with an air blower to remove loose dust before touching the glass.
- Use a soft brush to remove any remaining fine particles.
- Apply a small amount of lens cleaner to a microfiber cloth, not directly on the glass.
- Gently wipe in circular motions, starting from the center and moving outward.
- Let the optics air dry completely before capping or using the telescope.
Maintaining the Mount and Moving Parts
A telescope’s optical components rely on a stable, smooth-moving mount. Over time, dust, dirt, and misalignment can cause stiffness or wobbling.
Checking for Stability
- Make sure all screws and bolts are tight but not over-tightened.
- If the mount wobbles, check for loose connections or worn-out parts.
Lubricating Moving Parts
- Avoid household lubricants. Use a small amount of synthetic grease on gears and moving joints.
- If the mount sticks or grinds, inspect for debris before applying lubrication.
Aligning the Finderscope
- A misaligned finderscope makes locating objects frustrating. Check alignment during the day by pointing at a distant object and adjusting the screws until both views match.
Protecting the Mirrors and Lenses
Mirrors and lenses define the telescope’s performance, so keeping them in top condition is essential.
Preventing Contamination
- Avoid breathing directly on the optics, as moisture can leave mineral deposits.
- Keep the telescope away from smoke, aerosols, or any fine particles that can settle on the optics.
Checking for Alignment Issues
- A misaligned mirror reduces sharpness and contrast. If stars appear elongated or out of focus, collimation may be needed.
- Use a collimation tool or laser to fine-tune alignment. Minor adjustments can significantly improve performance.
Proper Storage to Extend Lifespan
Where and how a telescope is stored affects its longevity.
Choosing the Right Location
- A dry, temperature-stable environment prevents condensation and mold growth.
- Avoid attics or garages where extreme temperatures can warp components.
Using a Padded Case
- A dedicated storage case protects against dust, moisture, and accidental bumps.
- If a case isn’t available, cover the telescope with a breathable cloth and store it in a closet.
Keeping Accessories Organized
- Store eyepieces, filters, and other accessories in individual cases to prevent scratches.
- Desiccant packs in storage containers help absorb excess moisture.
Routine Maintenance Schedule
A simple maintenance routine keeps your telescope performing at its best.
- Before every use: Check for dust, tighten loose screws, and ensure smooth movement.
- Monthly: Lightly brush off dust, inspect for alignment issues, and lubricate mount if necessary.
- Every six months: Perform a thorough cleaning if required, check for collimation accuracy, and inspect all accessories.
Final Thoughts
A telescope’s performance depends on how well it’s maintained. With careful handling, proper cleaning, and regular storage habits, it can deliver sharp, detailed views for years. Small steps like using an air blower instead of wiping, covering the telescope when not in use, and storing it in a dry place make a significant difference. Preventive care matters more than frequent cleaning. A well-maintained telescope isn’t just about longevity—it’s about getting the best views every time you use it.
